How to Repotting Larch
![]() Posted on
Posted on
I’d been keeping a close eye on my very large Larch, new growth has started with swelling buds starting to show signs of green from about ten days ago but very little advancement since then despite it warming up some.
I decided to run with it and remove the tree from the pot to see what was going on down under!
The Larch had been re-potted three years ago and the pot was more than enough to last for a period of three years. Whilst Larch are generally good with frosts and cold weather I was not prepared for what was going to greet me after removing the tree from its current home.
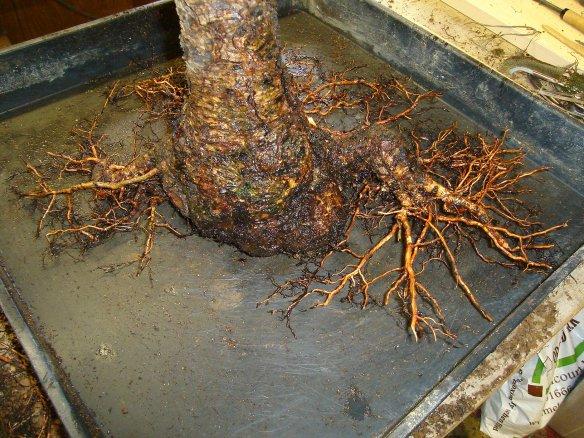
Once removed which was simplicity, most of the soil fell away quite easily and on first glance no alarm bells started ringing.
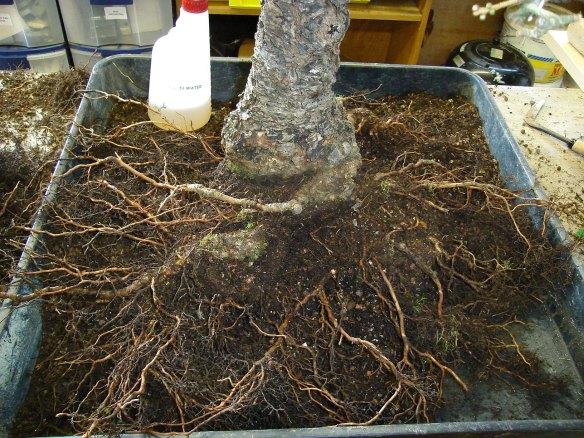
There are great swathes of black roots which clearly have taken a beating during the December freeze.
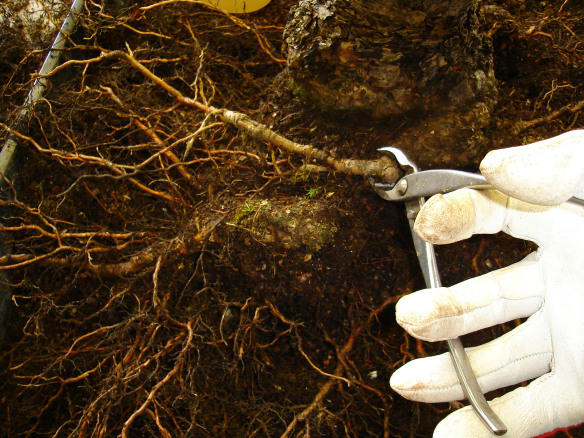
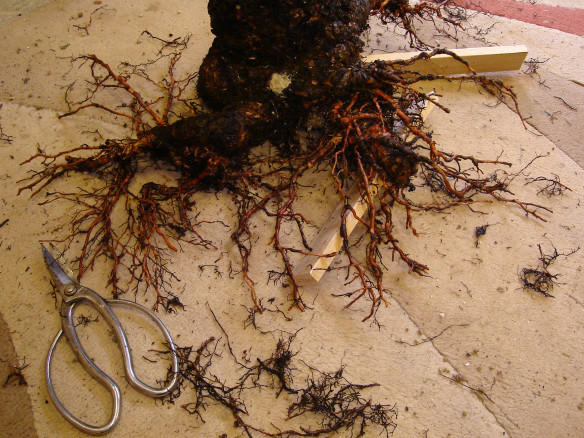
Before I went any further I had wanted to remove this crossing root for some years, so decided now was the time. I must be honest as this progresses, I’m not actually expecting the tree to survive, now then seemed a time for, ‘oh well,might as well get on with it’.
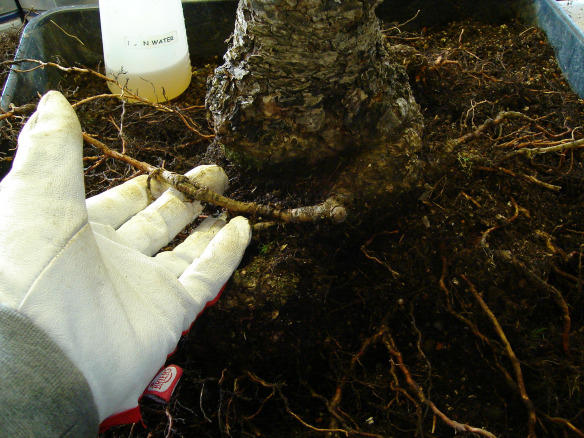
I’m using cutters to ensure a sharp cut. Once removed the end will be sealed.
Here is the initial pile of dead and decaying roots. By the time I’m finished it was twice the size.
These are simply dead.
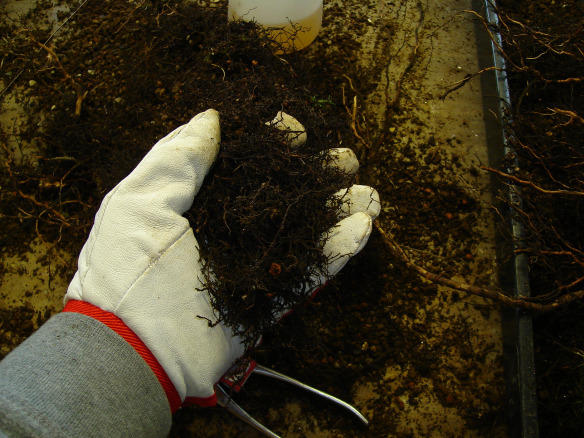
I’m now starting to get rather disheartened, clearly the tree has greatly suffered over two horrendous winters. I am now at the stage having removed by hand all dead and decayed roots of the remaining root ball. ‘Ball’ is definitely not the correct word to use.
I cut back to the live areas. The rear 25% of the tree has no roots whatsoever. A significant branch died after the winter of 2008/9. The bottom of the trunk is bare so at least earlier works conducted over twenty odd years have given me just lateral roots.
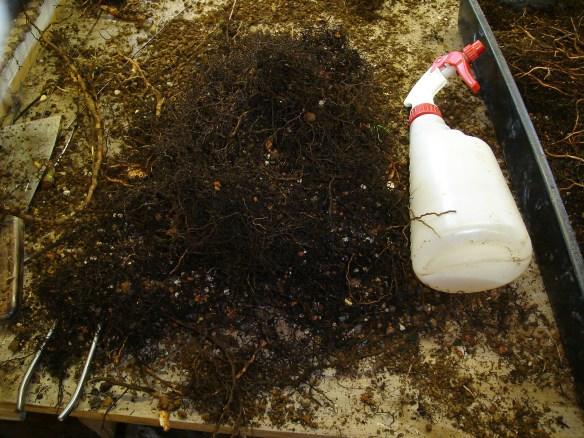
The pile is now enough to pack into a large bucket. The spray bottle can be seen next to the dead roots.
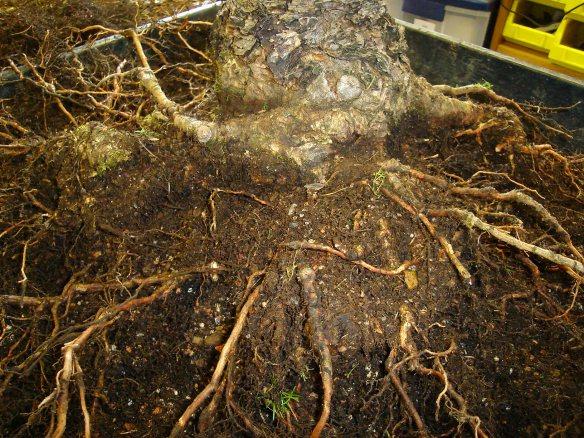
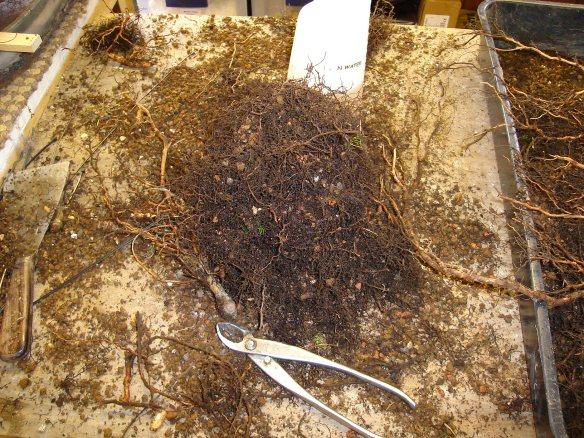
I’ve now removed all the obvious dead roots. You can see the absence at the rear of the tree in this next image, and what I am left to work with. I still need to go slightly further in on the roots and cut out the remaining decayed areas with a small pair of scissors.
I’ve now completed removal of everything dead, and this is what I am left with.
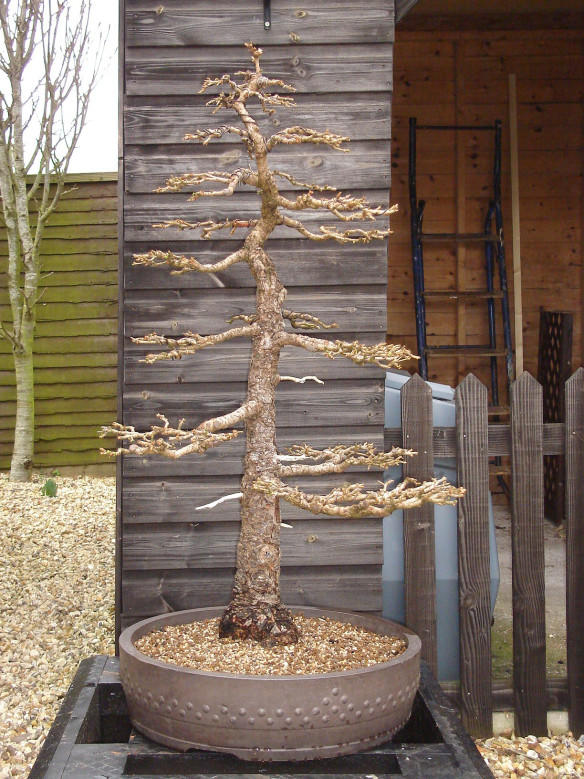
I still have a small amount of snipping to finish off with. I have been keeping the roots moist throughout the process, I can’t afford to lose anymore than is essential! My soil mix is fairly open and contains copious amounts of previously moistened sphagnum moss. I have decided to use a spare round Mica pot that I have. This is a 21″ diameter pot. The Larch is secured into the soil and I then spend a while making certain all roots are well covered.
I have located the tree in the shade and under cover. I can now do absolutely nothing but wait. if nothing is happening (from a positive standpoint) in 3-6 weeks then sadly after twenty-five years it will be time to say goodbye to an old friend. I had intended to air-layer the top third in late spring to create a much smaller Larch. I had then in mind to carve the remaining tree top to make a smaller (in height) tree.
Heavy pruning in hard this year as new growth arrived to replace some of the thicker areas was also on the cards.
Those plans will have to wait however.
Leave a Reply