How to Repotting Juniperus Procumbens
![]() Posted on
Posted on
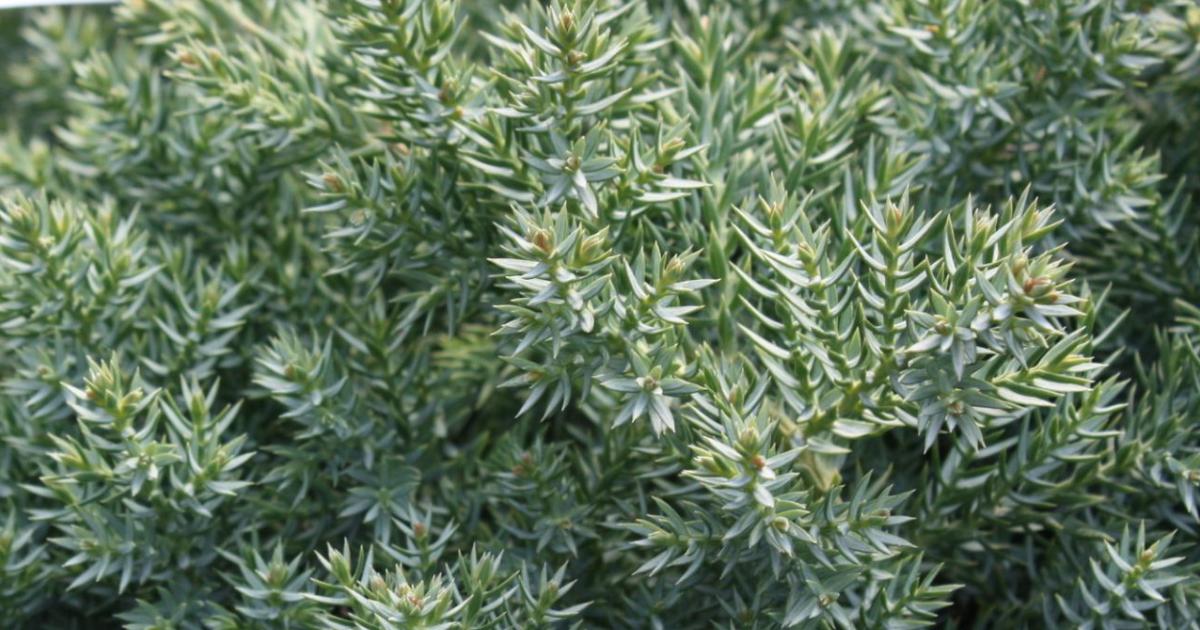
This then a repotting of a Juniperus procumbens, commonly known as Dwarf Japanese Garden Juniper. Before I show any pictures, thus tree has been in my possession for seven years. It was originally a large ‘bush’ like tree growing in a Chinese decorated – very tall cascade pot.
During late winter an extremely bad storm arrived with wind-gusts peaking at 90mph. Of course, I thought it would be safe in my display house but sadly the wind blew it off its perch and smashed the pot. A few branches were broken off and the root ball was completely exposed.
Not having anything suitable it was a quick drive to the nearest garden-centre and find a pot that it would be safe in.
Here is the tree after falling off the perch and hastily being potted on into the replacement pot. Twas a case of what I could find sadly. This is a few months later.
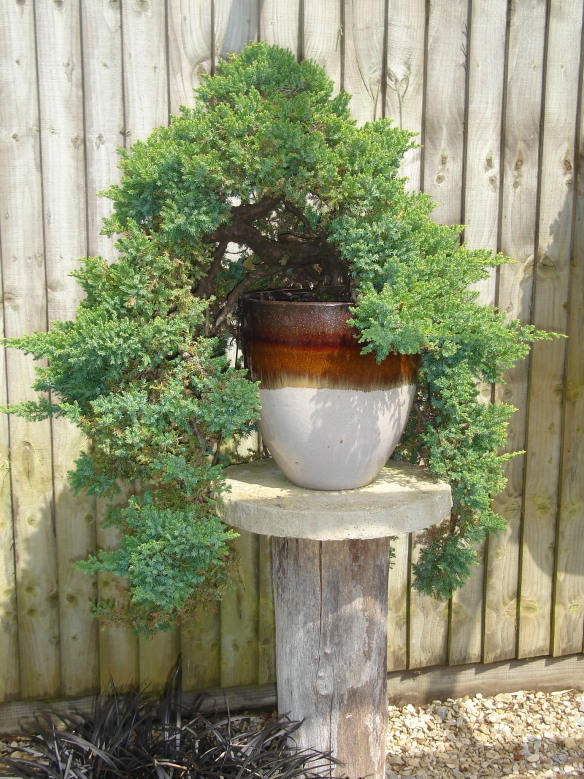
As you can see, the pot does absolutely nothing for this potential Bonsai. I initially thinned the tree out in late summer. Basically to see what might have been possible.
A little more thinning. Now into September.
I don’t care for the rear cascade but wanted to make certain I had the right choice for front, and in particular which area was going to lend itself to cascade … if any.
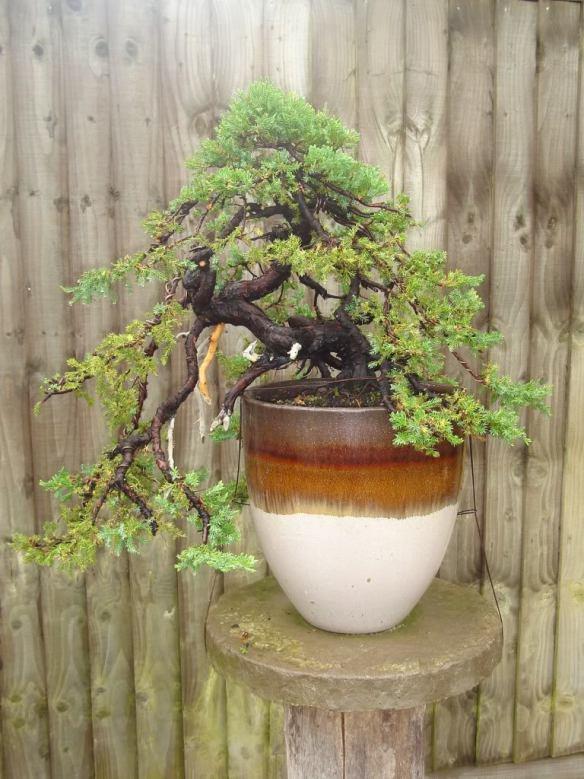
Further pruning, now into October. I decided after much thought and help in selection with my buddies on Wee Trees, to remove the right hand cascade and the rear hanging branches. All that remained now was to wait until now for a repot.
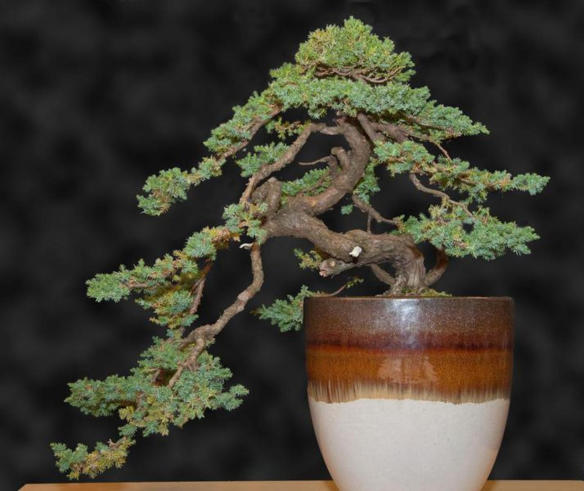
Further styling work is required and this will be undertaken in summer after it has fully recovered from the repot. I was fortunate enough to have a hand-made pot which I had persuaded Peter Chan to part with some years earlier. And no I couldn’t use it when the original pot broke as I had something else growing i it.
Whilst the new pot is far from perfect, it does nicely match the bark and overall shape of the tree. I will let the tree fully recover this year and depending on health and development be able to repot in as little as a year. The variety Procumbens can be awkward in re-establishing, so I may in fact give it two years. A lot will as I say depend on health progression this year.
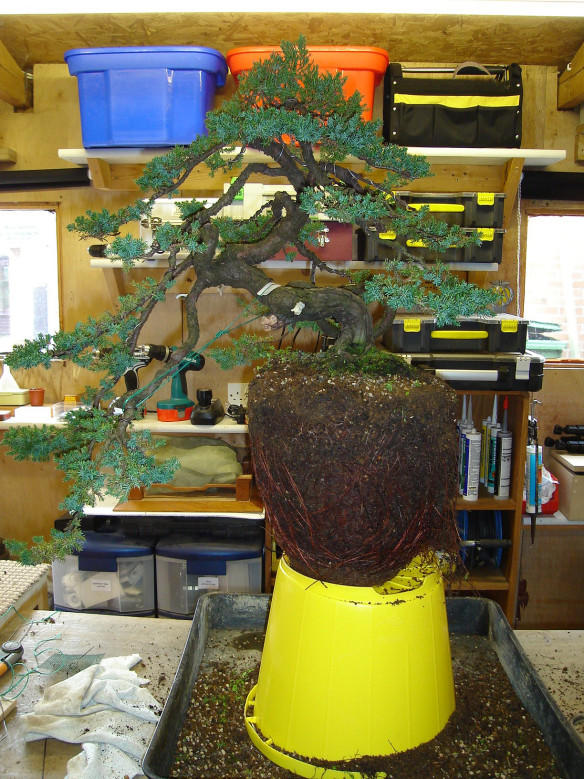
So this morning after a winter of protection the tree was shouting out for the repot. I started here:

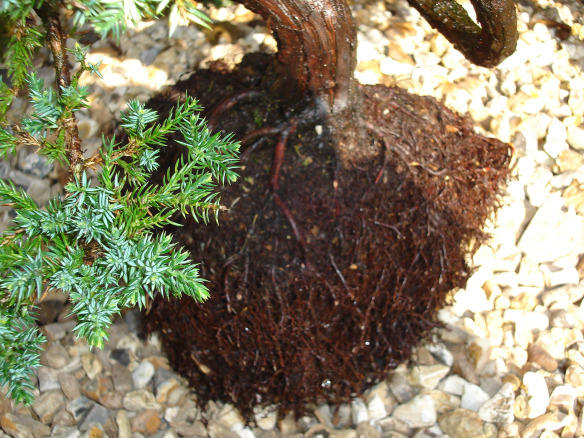
After a huge struggle I finally with the help of a buddy (who I had to phone), fortunately he lives close by. We eventually freed the tree from the pot and I placed it on an upturned bucket to protect the longer branches.
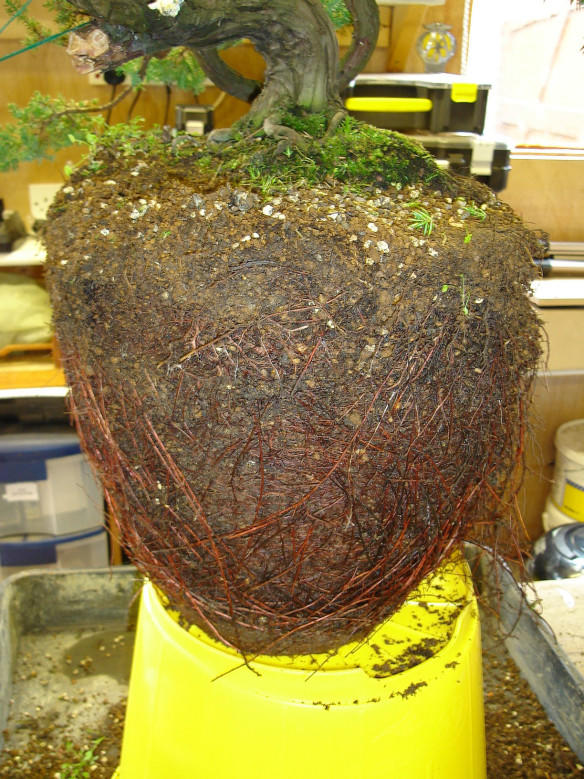
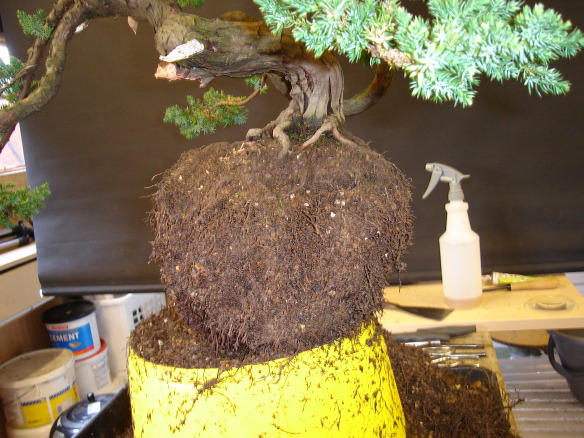
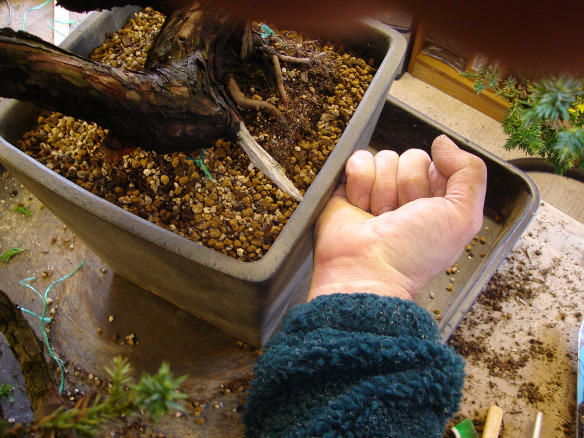
As you can see, despite only a year in a much larger than normal pot growth has been significant. My intention here is to comb out all the roots and reduce the overall root-ball by at least 50%. I shall remove any dead roots, crossing, unwanted during the process.
The above image gives you some idea of the root-ball size. The large bucket is virtually the same size as the root ball.
I want to retain as much root as possible to work with so I am using only a ‘chop-stick’ to gently tease everything out and loosen the soil. It was not proving difficult as it had only been in this pot for just over twelve-months.
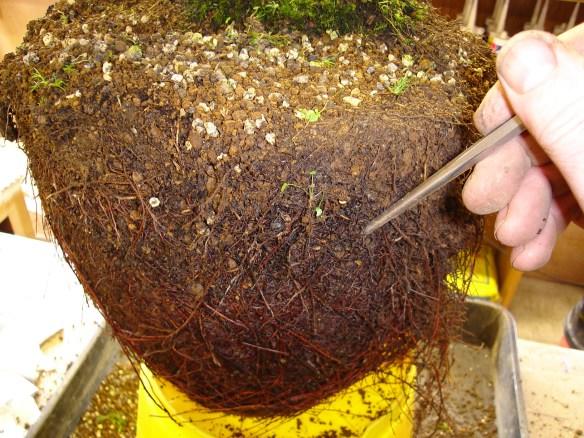
I use the same technique as seen in the recent Hawthorn repot for weed removal. Long pointed tweezers.
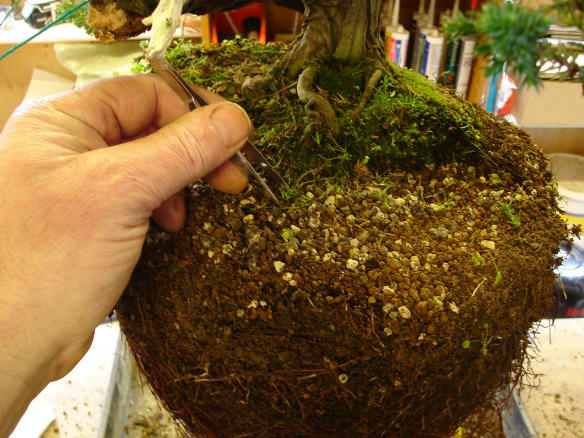
Next job is to get teasing and see what I have.
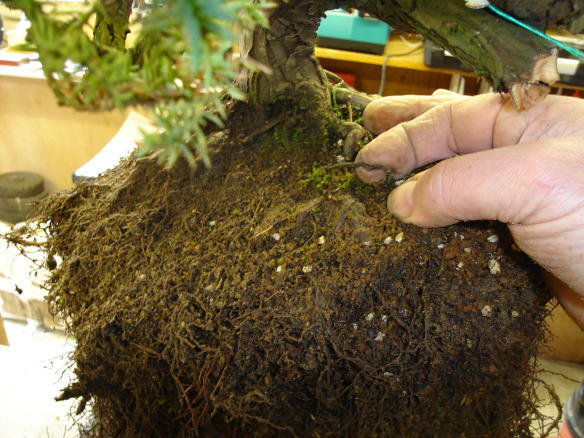
You can see here that I have removed all of the weeds and during the process discovered some nice surface roots. Several are crossing and are on no major significance so they can comfortably be removed.
When removing roots at the surface be certain not to leave the remainder that are in the rootball, they should however come away quite easily as you continue to unravel the remainder.
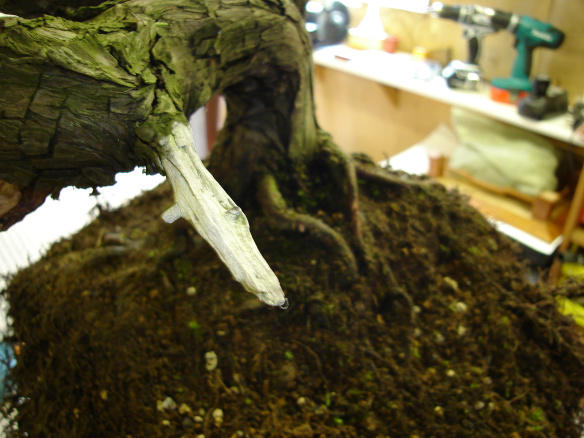
Here the surface can be seen virtually weed and moss free. The image immediately after is just one of the crossing roots to be removed.
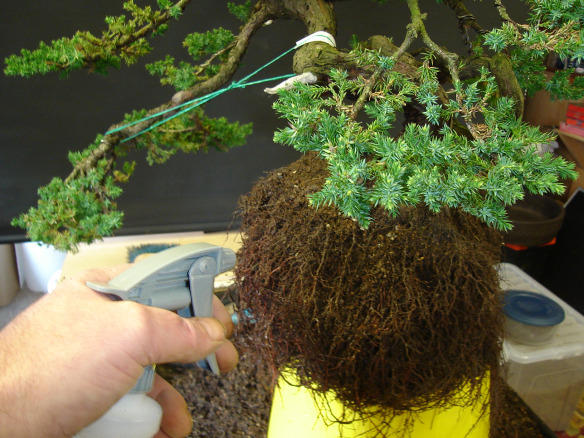
So with just over an hour spent it was time for a quick coffee break. At this juncture whenever I leave a tree part way, I spray the roots to keep them moist as even though it is only March, the sun is out and it is already up to 19c in my workshop. After spraying I wrap the rootball in a damp towel.
I have removed a large section of surplus root to better see what I am doing.
Right, back from coffee then. Here you get some idea of how even the root base is. Shame really so much is going to be removed.
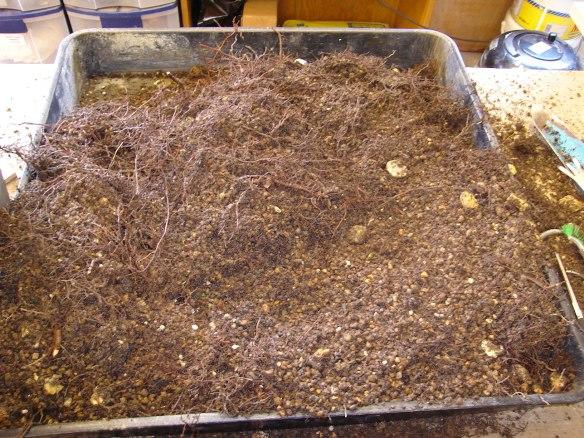
After an initial tidy you can get some idea of just how much soil and root debris has been removed.
Roots have now been trimmed to size of root ball with exceptionally sharp scissors, here then is after initial tidying.
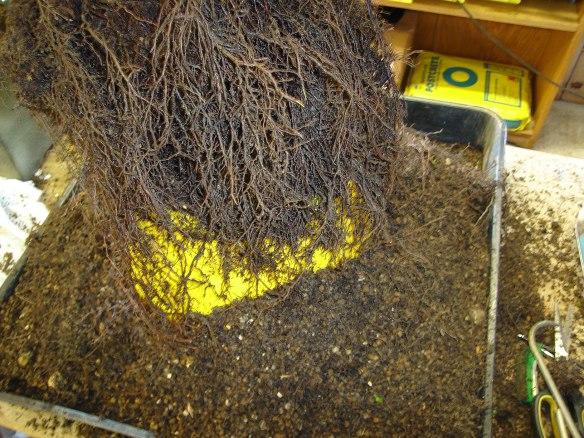
After the initial trimming of the root ball I have now taken the decision to wash it through. The main benefit of this technique is to wash away a lot of dead root, but most importantly to give a clearer picture of further root removal. In particular any potential unwanted roots.
This now presents a more detailed image of what roots I have to work with. In addition I am looking to reinvigorate fine feeder roots nearer to the trunk base.
I spent a further hour carefully removing roots and fine tuning the finished root ball. It is vitally important to use razor-sharp equipment when undertaking removal of roots. You do NOT want to crush the end, they should be removed cleanly.
I am now ready to prepare the new home for the Juniper. Firs up is a drainage layer and for this I am using some large particles of Kiryu. I shall also include smaller particulates in the main soil mix which I shall show in a moment.
Kiryu is a Japanese imported mixture, which is primarily made up of clay and pumice. This mixture is ideal for plants which require extra drainage such as pine trees/evergreens/conifers.
It may be used neat, or mixed with normal soil mix. Kiryu allows for good air circulation which promotes a strong healthy root ball. Should you ever decide to use it ‘neat,’ then more regular watering will certainly be required. For a Juniper a free draining soil is most certainly a requirement. I am however including other products to complete my overall medium.
Here can be seen my drainage layer with a lighter for size comparison purposes.
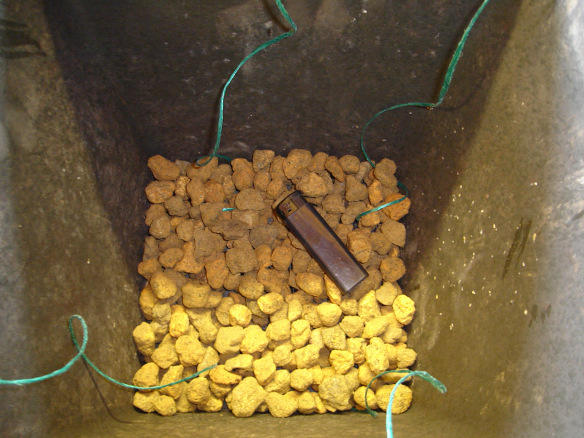
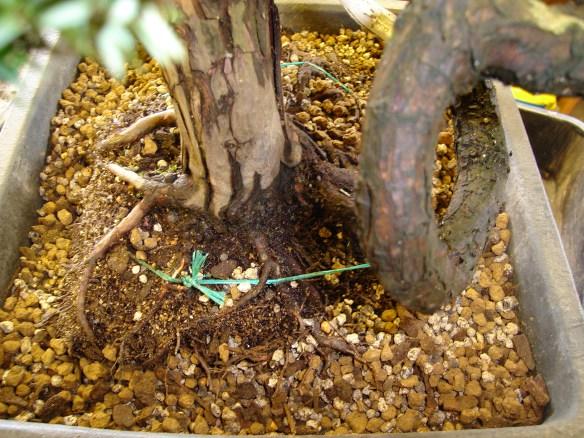
You can also see I have my twine already threaded through the pin holes in the base of the pot. These are to secure the tree for the first four to six months to prevent movement whilst the new roots establish. I have always usually stuck with wire for this job, but in recent years since poor health and retirement i find this just as good and saves the use of expensive wire. With both twines secured I will however use on or two small lengths of plastic coated wire inside the pot to add tension.
Try to avoid any wire or twine being pulled down tight over larger roots, if there is no alternative be certain to protect these root surfaces with some added plastic tube threaded onto the twine. In this instance I was easily able to use my tweezers to feed the twine into the root ball thus avoiding any major root surfaces.
The following image shows the soil being made up. I never pre=prepare soil as I like to wait and see what the root ball is actually like first. It will then depend how and what I will use for the repotting medium.
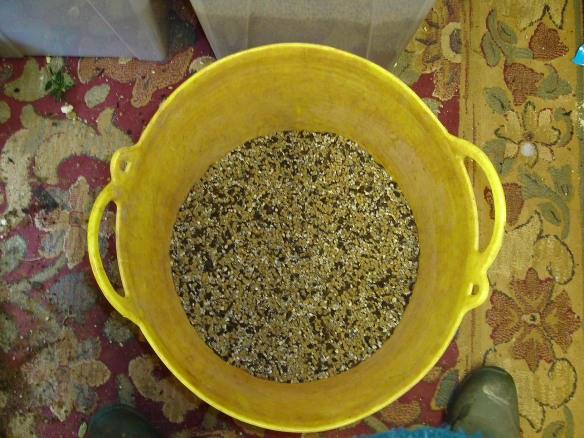
Here I use a flexible rubber bucket with handles, these buckets are absolutely perfect for mixing properly. I hold each handle with a hand then use a left-right tipping motion as fast as I can, this works very much like a mechanical mixer and thoroughly mixes said soil particles.
I make two mixes, one that will initially surround the soil, and the second batch which contains nutrients and organic fertiliser. The second layer is then not ever in direct contact with new young root growth. I have adopted this procedure for many years now and it works perfectly.

Here I am pulling from pre-sieved and graded soil which is a larger size of Akadama.This is a time-tested product over centuries in Japan. It is mined from ancient volcanic “soils”, then spread to dry and sifted to separate the grain sizes. In addition to bonsai, akadama has universal uses due to its ability to hold water and nutrients without being water-logged. The characteristics of this “soil” includes it’s porosity, stability and it’s ability to store water and mineral nutrients and release these to plant roots. Akadama facilitates fine hair root growth. It is ideal for pot growth because of its properties of moisture retention, drainage and air space.
In addition to Akadama for this mix I am including equal parts of Aqua-grit, this is a lightweight aquarium based stone which I started using when Kyodama became unavailable. I will now stay with Aqua-grit because of its neutral pH and the ability to store nutrients.
So I am using equal parts of Akadama and aqua-grit, added Kiryu which also has been sieved and graded. I am using the small particles to replicate a sandy component. A small handful of propagating bark is included, this then the only organic part of the mix. Frit and trace elements are included as well as a new organic feed which will breakdown to nothing over one growing season. I am including iron and additional magnesium for healthy growth.
With the tree in the pot and suitably secured it is now time to commence filling the pot with soil. I anticipate this will take at least a further thirty minutes. I do NOT rush this part as I like to ensure all large air gaps are eliminated.
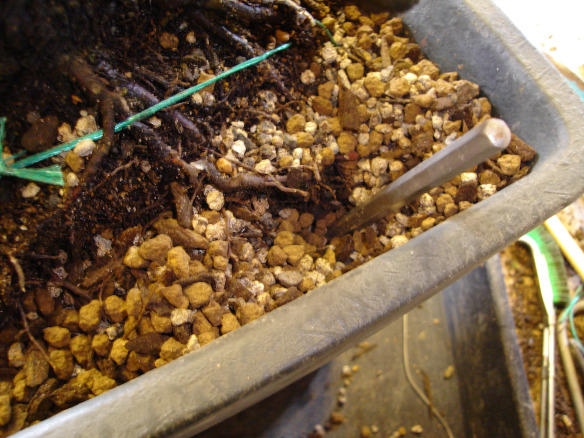
You will see I am using my S/S ‘chopstick to do this. I do NOT just ram soil down and hope for the best. I have seen this done many times by others and my own method is one that I prefer. I am saying to you do not just push everything down with a chop-stick. The stick should be inserted into the soil and wiggled, quite quickly as well, moving around the root ball as I go. Initially what looked like a full pot of soil has dropped down by over two inches. This wiggling movement ensure that all those empty spaces are duly filled, and does not crush down any of the medium. This is evident when the first watering is given as it simply goes through the entire mix saturating the soil and pulling air down as it leaves the pot.
Here I am doing the wiggling motion with the medium.
As well as the wiggle I mentioned, I am also using by hand to tap quite hard on the pot to further ensure there are no gaps.
You can see over a period of some forty minutes how the initial soil level has dropped down, confirming that all large gaps are slowly getting filled with medium.
Here I am virtually finished and will now top dress with a finer size of Akadama.
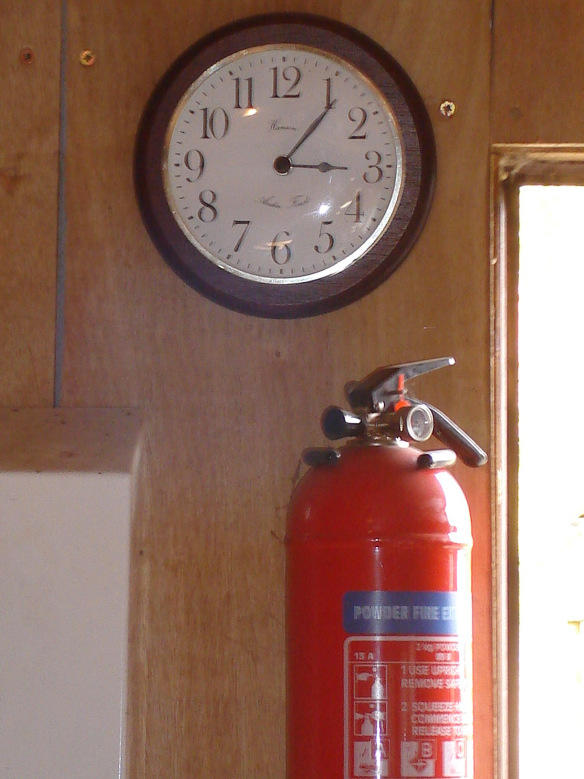
Just a quick image of my clock which seems to be going round faster than usual. What seems minutes that have flashed by turns out to be hours!
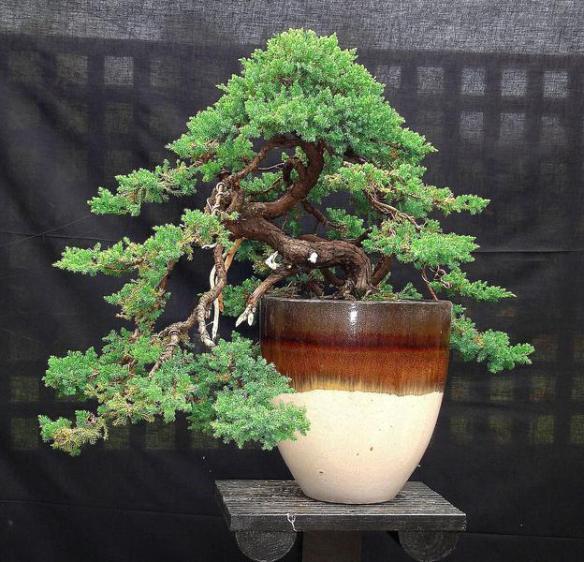
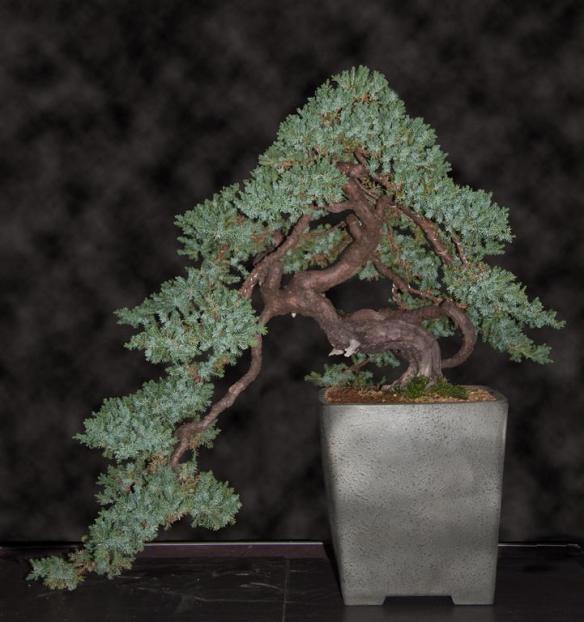
Just before I take the tree out to water well, a quick opportunity then to take a picture. As I started by saying, much more work is required to this Juniper, but I shall wait to much later in the season before doing any further work. For now it will be allowed a period of good growth.
I will not feed the tree for eight to ten weeks. Once the roots make contact with the organics in the pot, this will quite sufficient until late summer when I will start feeding a liquid 0-10-10. And for the first year ever I am trialling a 100% organic version of 0-10-10 with no need for manufactured chemical.
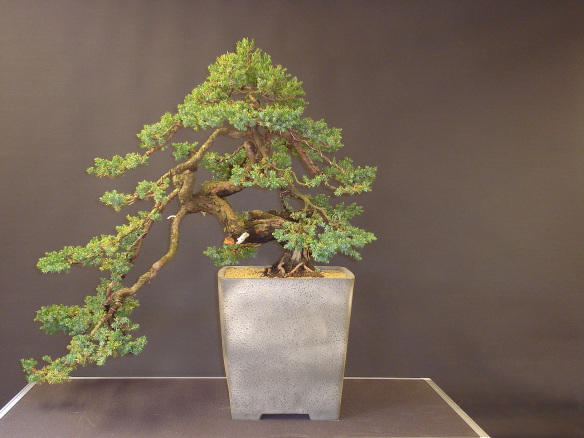
Here we are in November now after a season of feeding and some branch removal. Very healthy with further work planned for next year.
Leave a Reply