How to Repotting Korean Hornbeam
![]() Posted on
Posted on
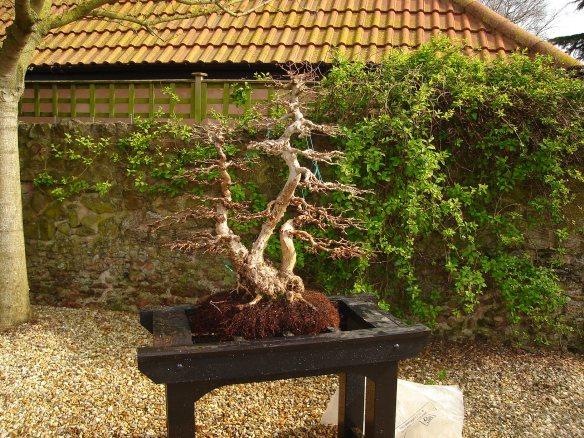
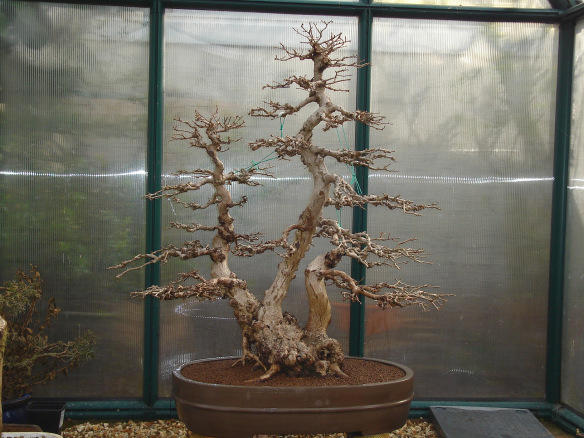
With buds elongated and swollen showing the tiniest area of green tips in many, it was time to repot this rather large Triple-Trunk KH. I’ve owned the tree for many years. It has been part of a larger display at the Chelsea Flower Show on two separate occasions.
This year, as well as being short-listed for the Best of British Bonsai in Birmingham next month it has made the grade and confirmation came ten days ago that it has been chosen to be part of the two day event.
Sadly with repotting so close to the exhibition it does not look as though it will be ready in time. I hard pruned this Bonsai back in mid January. This is an ideal time to generally clean the tree up and be able to see what is going on without leaves getting in the way. I will still be working the top of the two main trunks in a few weeks time, this will be completed once leaves are grown.
When removing a tree like this the temptation is to pull on the trunk to remove. This should NOT be your chosen course of action for initial removal. First up, the type of pot should be examined carefully, look for ledges that soil and roots grow into. This will prevent simple removal.
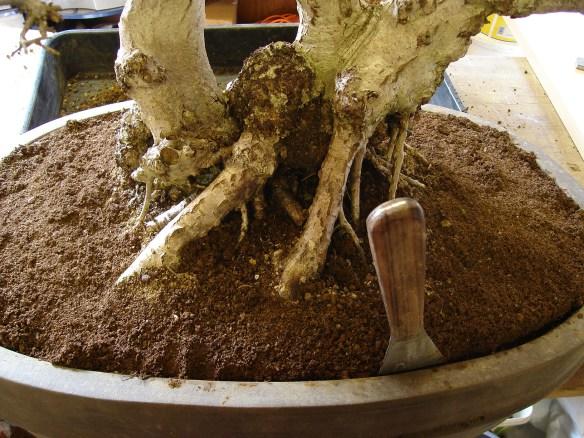
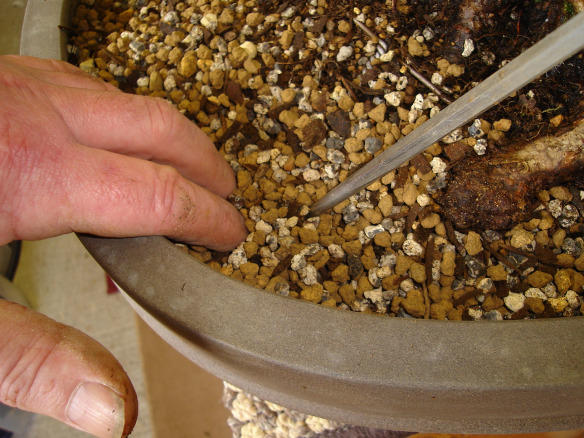
First I ran a blade all round the soil edge. I then use a stiff scraping blade as can be seen in this image. It is simplicity to push down and wiggle from side to side at the same time. You can actually feel it coming free.
Once the edge is free the tree can be easily levered out. I protect the edge of the pot so that the lever does not come into direct contact with said pot edge. This action ensures no damage comes to your pot.
Tree removed.
It was difficult to see into the rootball with so many roots blocking my view. Knowing these were coming off anyway I removed a substantial amount.

Examining the rootball there are far too many roots growing in a downwards direction and it was my intention to remove all of them back to the inner core.
Although in the following image the ball looks very tight and dense it is actually quite loose. This is mainly because I have been keeping it on the dry side which makes teh process of repotting much simpler and less messy.
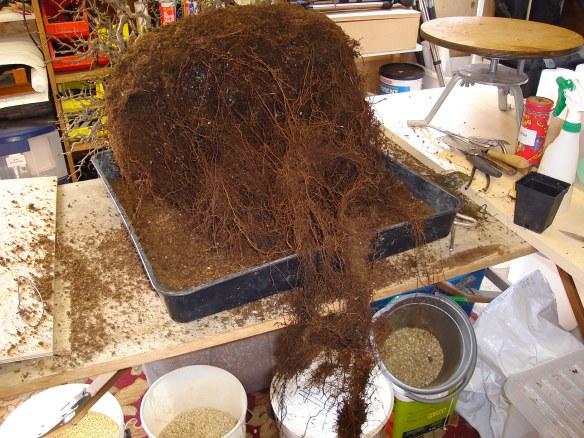
A root-hook was not required. I teased all roots outwards using only my favourite ‘chop-stick.’ Insert and gently wiggle. Roots do not get damaged and all comb outwards.
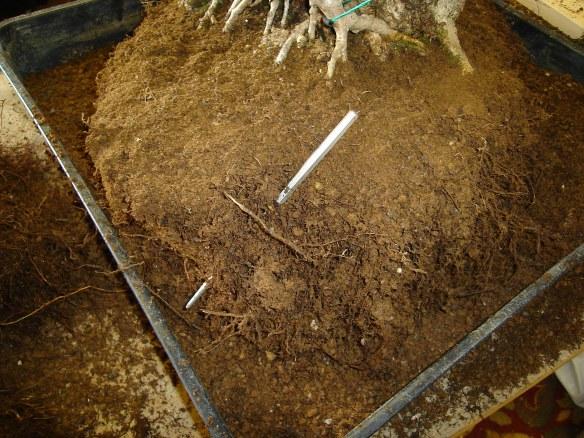
As can be seen in the next image, the rootball is shrinking and revealing more root. Note the outward direction I am combing the roots into.
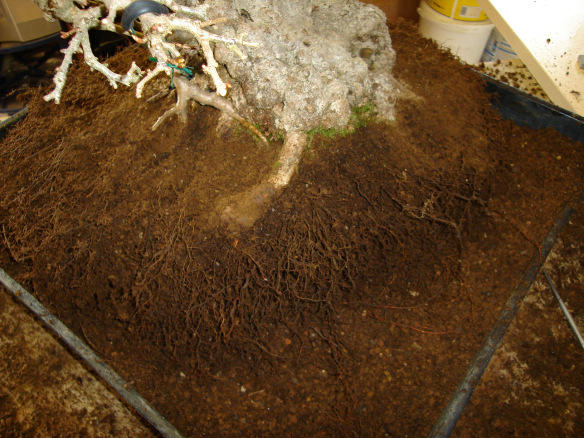
Although I am going to show the roots washed, it was never my intention to bare root this tree as I undertook a full-blown bare root repot several years ago. Apart from removing downward growing roots, this repot is a fairly simple overall reduction.
The wash has finally revealed the wire I used for securing into the pot last time. I always release the wire from underneath once the tree is established but only pull them through if I can do so without disturbing new root growth.
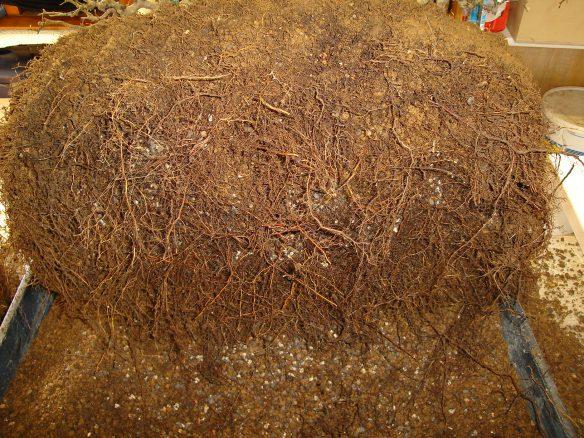
It is clear to see now at this stage which is far from ready yet. How the rootball is reducing in size.
Here is a photo to see the size the rootball is as of now. It still has further to go.
And finally I find the second retaining wire. It is now time to cut back underneath and see if I can remove all downwards growing roots.

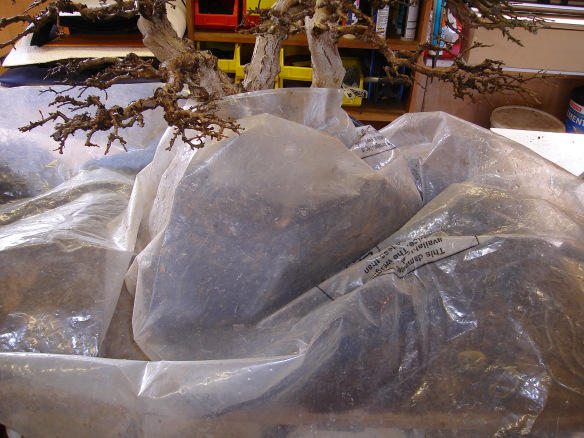
Time for a quick break. Now it has warmed up instead of using a damp towel to wrap the root ball in, I cover it in plastic sheet. This ensures a quick-fix micro climate.
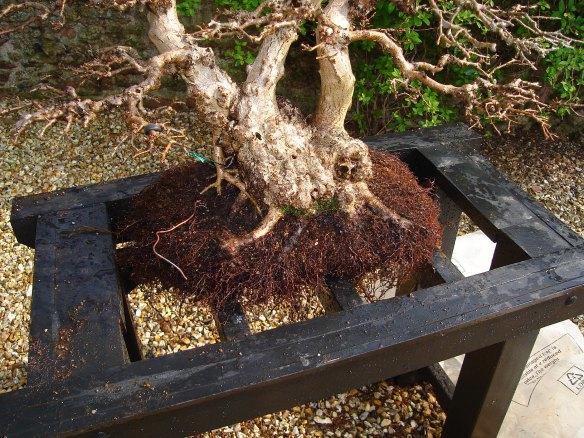
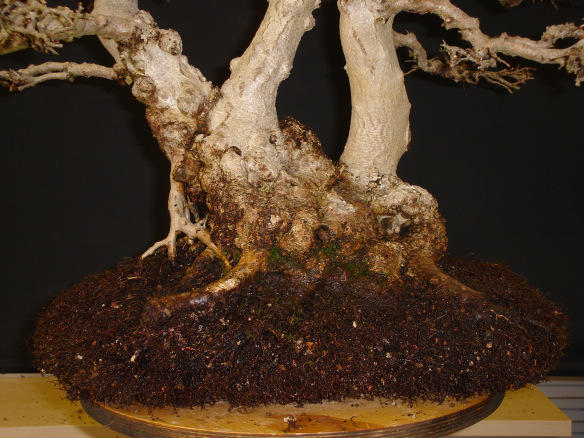
Having removed almost all downwards growing roots, I continued to use extremely sharp scissors to trim the remaining roots. This is the final image prior to putting the tree back into the same pot.
Whilst this may seem a large remaining rootball, I feel it is about perfect and you can consider this repot to be a standard one. It is a 40% reduction to the sides and 50 – 60% underneath.
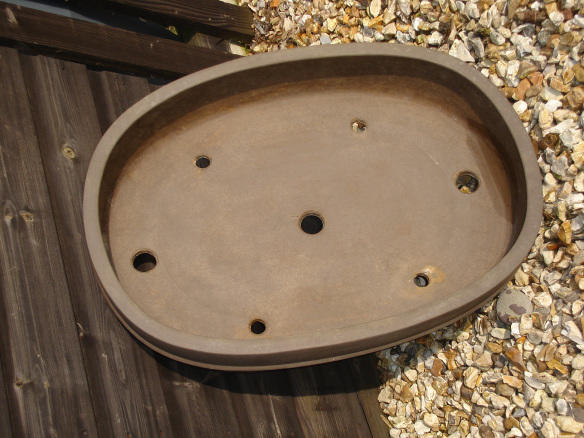
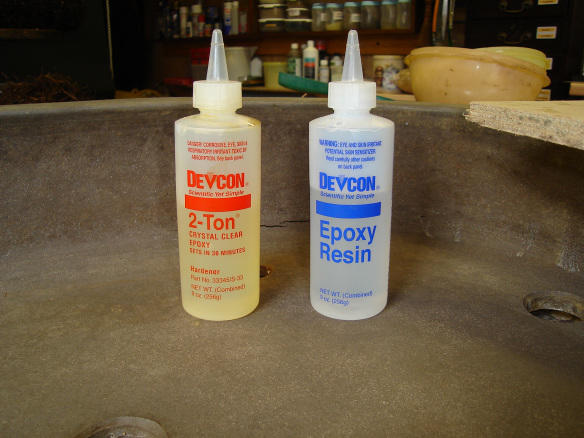
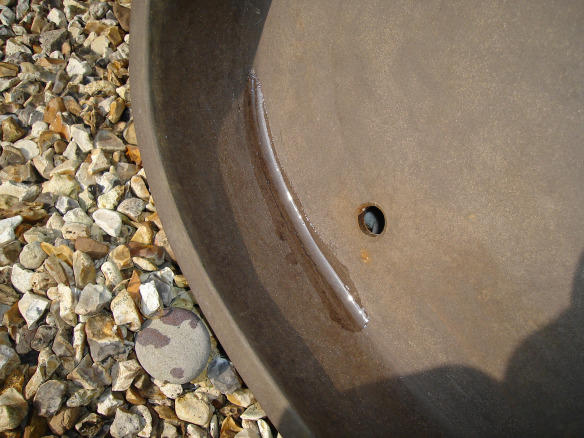
It is important to clean the pot really well. After cleaning I found two stretch-cracks. It is likely this was caused when firing the pot during production. A simple way to repair this is with epoxy resin.
Here the pot has been cleaned and the image immediately after details the stretch-cracks.
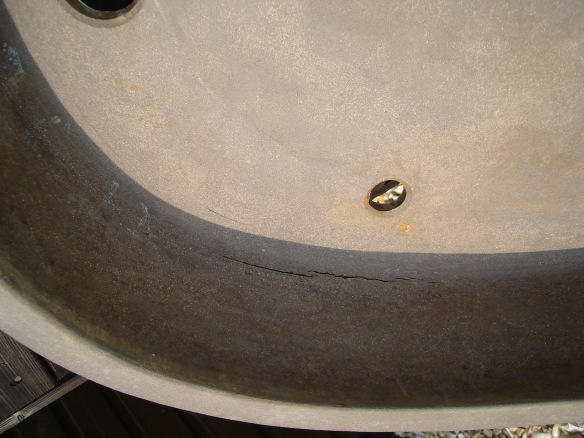
This is my favourite product for any pot repairs. It is strong and dries very quickly.
Cracks now fully repaired.
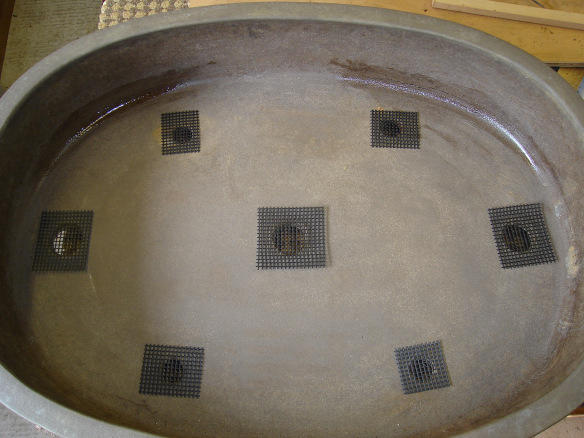
Make certain all drain holes are suitably covered with drainage mesh and secured into the pot.
You can see here I have covered the base of the pot with my mix. As I am using a very free draining one I have not used a layer of grit. It is not at all necessary.
There is a good gap all round the edge and I will now work slowly ensuring no large gaps remain.

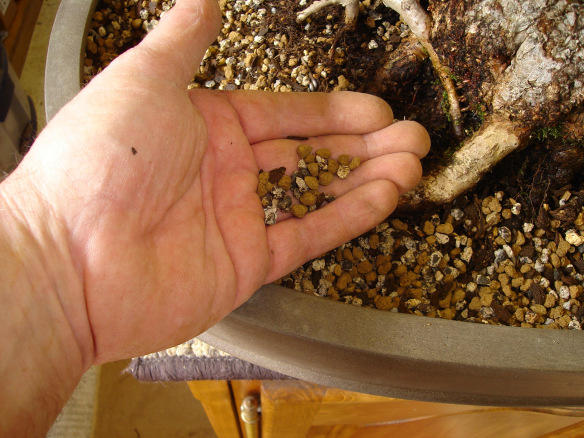
The particle size of my soil medium reflects what I am wishing to achieve from the tree, and at the same time is commensurate with the overall size ratio.
This is my mix scaled against my hand. The following two images are building up the levels.
All soil should be ‘bone-dry’ as you continue to build up. I use my fingers and my ‘chop-stick’ to work the medium. By wiggling from side to side you can see how any holes are being filled.
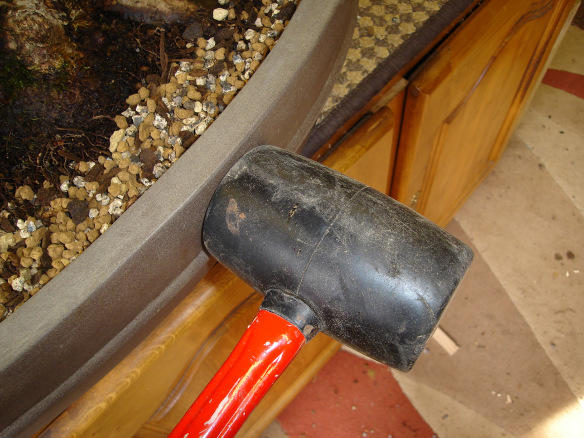
Once I am satisfied that I have finished, all that remains is to gently tap all round with a rubber mallet. This further ensures any unwanted air-pockets are filled.
All that remains now is to top-dress with sifted and graded Akadama.

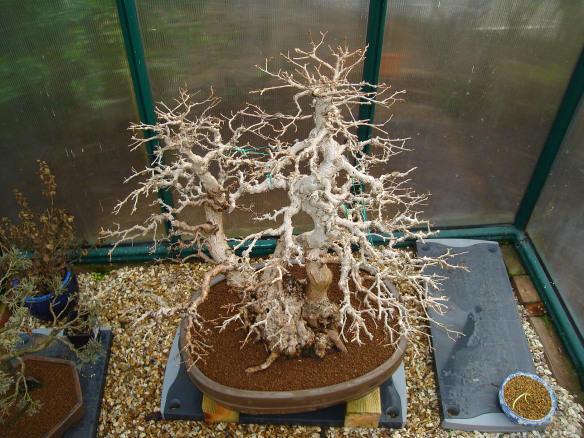
The tree is drench-watered and safely put into the green-house. It is placed on blocks to permit ample ventilation from underneath.
It will stay here now for one month, then be positioned in the display house.
Leave a Reply